Create Stunning Fall Nail Designs With This Step-By-Step Guide
You can create stunning fall nail designs with a few easy steps! Start by gathering quality supplies like a base coat, top coat, and your favorite autumn colors—think warm oranges, rich reds, and earthy browns. Prepare your nails by removing old polish, trimming, and filing them. For the designs, try simple techniques like dotting for leaf patterns or using tape for clean lines. Follow a step-by-step guide for specific designs, like a charming pumpkin or realistic leaves. To keep your art looking fresh, regularly apply a clear top coat. Stick around to learn more fun methods and tips!
Essential Tools and Supplies

When diving into fall nail designs, having the right tools and supplies makes all the difference.
Start with a good quality base coat to protect your nails. You’ll also need nail polish in your favorite fall shades, which can include earthy tones or deep reds. Don’t forget a top coat to seal your design and give it that glossy finish.
A set of nail brushes is essential for detailing, and nail strips or stencils can help create precise designs.
Keep some cotton balls and nail polish remover handy for any mistakes. Finally, a cuticle pusher and nail file will help guarantee your nails are beautifully shaped and ready for your fall creations.
With these tools, you’re set to create stunning designs!
Choosing Autumn Color Palettes
Autumn color palettes can transform your nail designs into a seasonal masterpiece. As you choose colors, think of the vibrant hues around you. Rich reds, deep oranges, and warm yellows evoke the beauty of falling leaves.
Incorporating earthy tones like browns and mossy greens brings a cozy feel. You can even mix metallic shades, like gold or copper, for added glam.
Don’t forget to experiment with gradients or ombré effects; using two or three colors from your chosen palette can create eye-catching designs.
Preparing Your Nails
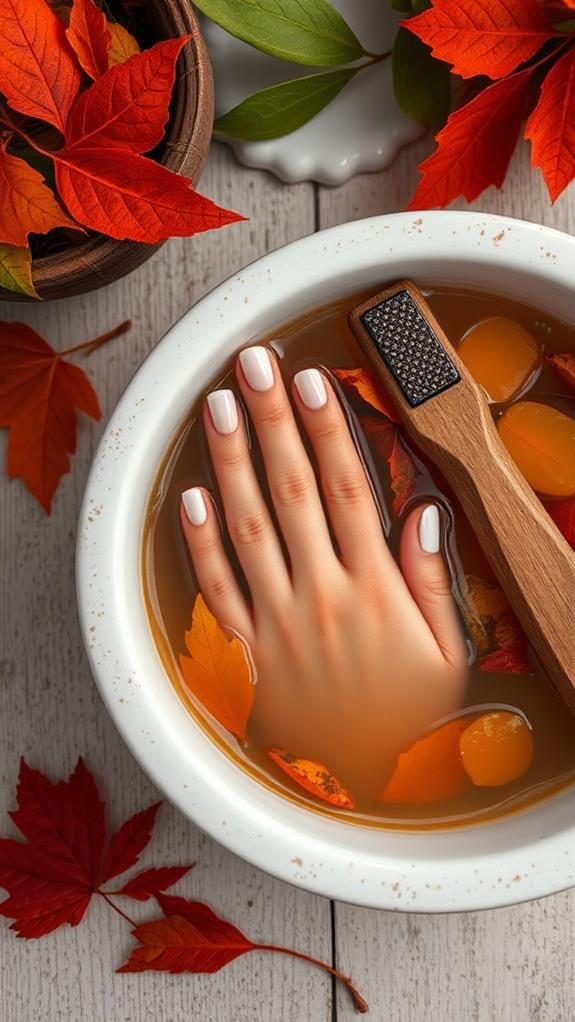
Before diving into your fall nail designs, you’ll want to make sure your nails are in top shape. Start by removing any old polish; this gives you a clean slate for your new masterpiece.
Next, trim and file your nails to your desired length and shape. Whether you prefer square or oval, having neat edges sets the foundation for a stunning look.
After that, gently push back your cuticles; this helps create a polished appearance.
Don’t forget to buff your nails lightly to remove any ridges and add some shine.
Finally, wash your hands to remove dust and debris.
With your nails prepared, you’re now ready to express your creativity through beautiful fall designs!
Basic Nail Care Tips

Healthy nails are essential for achieving the perfect fall look, so it’s important to establish a solid nail care routine.
Start by keeping your nails clean and trimmed, as this helps prevent breakage and hangnails. Moisturizing your hands and cuticles is also key; using a good hand cream will keep everything hydrated.
Don’t forget to choose a gentle nail polish remover, as harsh chemicals can weaken your nails over time. Additionally, consider giving your nails a break from polish every once in a while to let them breathe and recover.
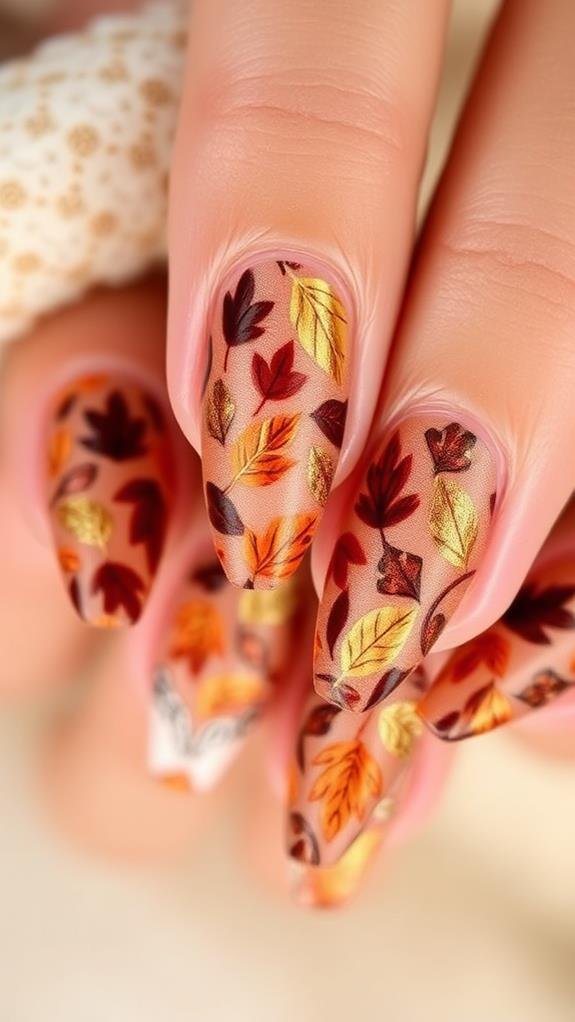
Simple Fall Nail Art Techniques
As the leaves change and the air turns crisp, you can easily jazz up your nails with simple fall nail art techniques.
Start by choosing warm, autumnal colors like burnt orange, deep red, or mustard yellow. A classic technique is the dotting method; using a dotting tool or a toothpick, create tiny dots in different colors to mimic colorful leaves.
You can also try using tape to create clean lines or diagonal designs. If you’re feeling a bit bolder, consider using a sponge for an ombre effect, blending colors like brown and gold.
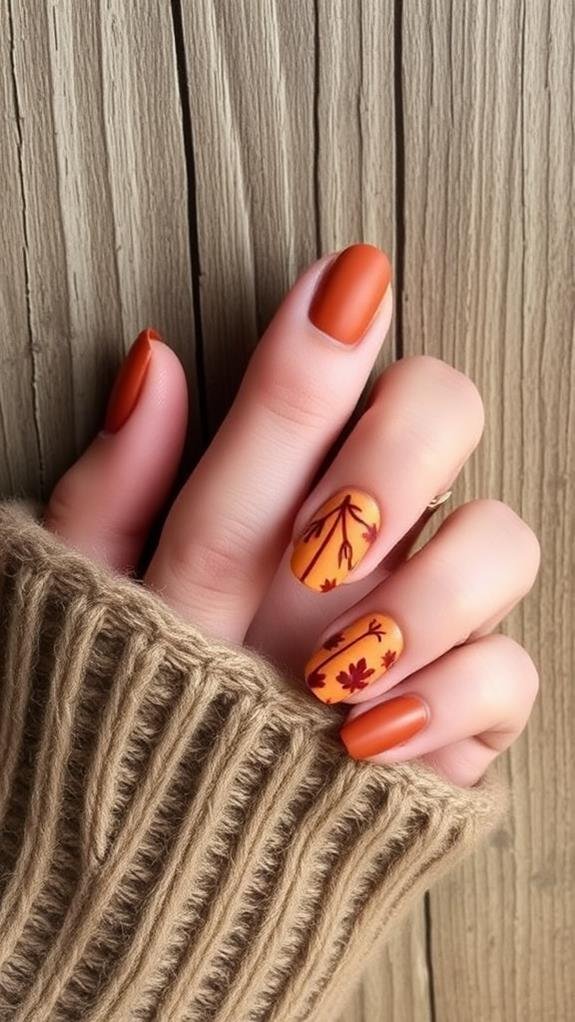
Inspiring Patterns and Designs
With the season’s vibrant colors as your inspiration, fall nail designs can be both creative and eye-catching. Think warm tones like deep reds, oranges, and browns that mimic the changing leaves.
You can experiment with chevron and plaid patterns, which evoke cozy sweaters and pumpkin spice lattes. How about trying a marbled effect with swirls of gold for an elegant touch? You might also consider adding subtle metallic lines that shimmer like the sun filtering through trees.
Don’t forget about seasonal motifs too! Simple designs like acorns or cute tiny pumpkins can enhance your nails.
Mix and match these patterns to express your personal style while embracing the magic of fall. Get creative, and have fun!
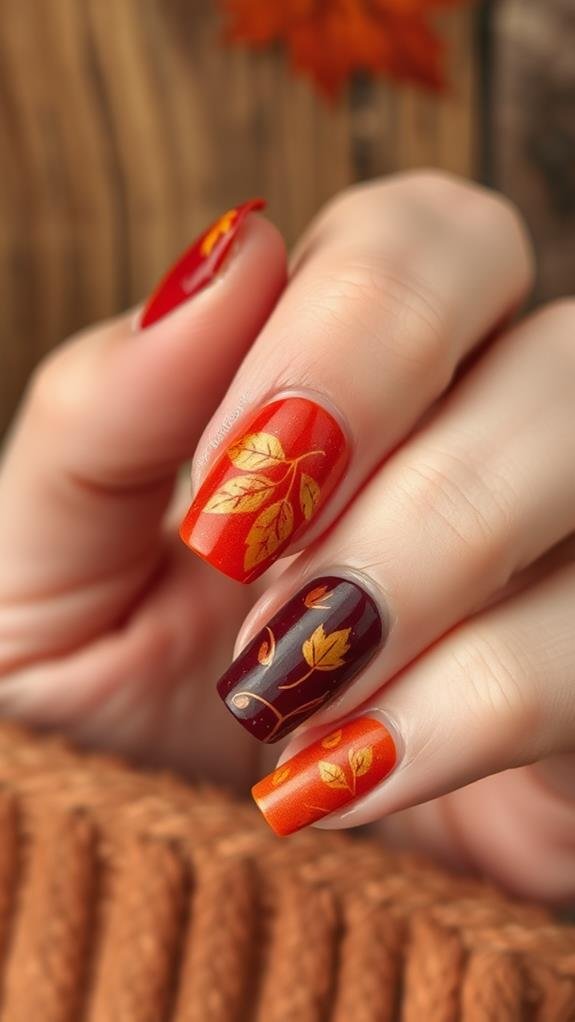
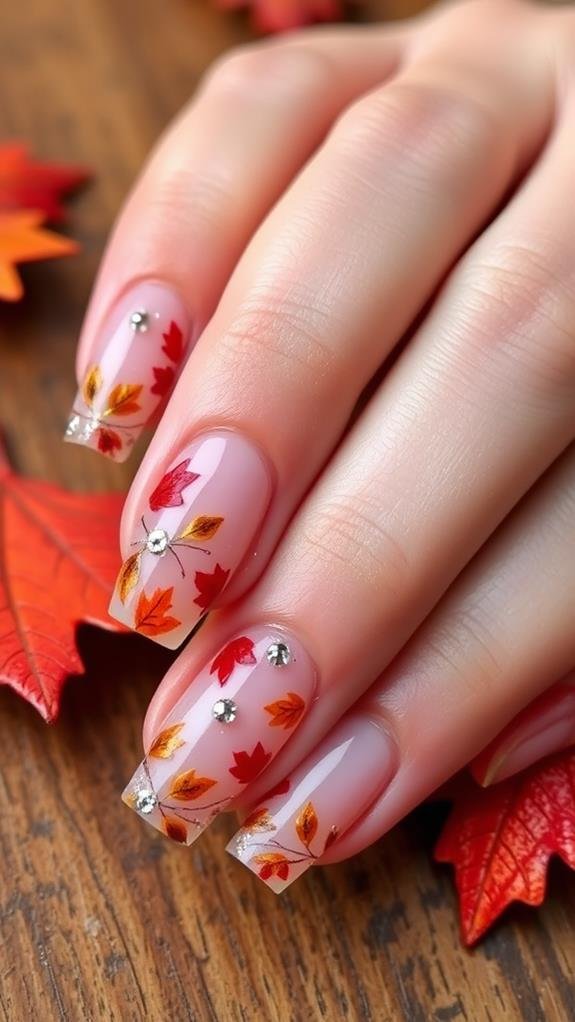
Step-by-Step Tutorial: Leaf Design

Embracing the beauty of fall, a leaf design can add a stunning touch to your nails. To start, gather your supplies: nail polish in fall colors like orange, red, and brown, a small brush or dotting tool, and a clear topcoat.
First, paint your nails with a base color, like a deep burgundy. Once dry, use the small brush to create a leaf shape with your chosen color. Add details by lightly brushing lines down the center and sides, mimicking the veins of a leaf. You can mix colors for depth!
After you’re satisfied with your design, apply a clear topcoat to protect your artwork. Give your nails some time to dry, and enjoy your beautiful fall leaf manicure!
Step-by-Step Tutorial: Pumpkin Design

Get ready to bring some festive flair to your nails with a cheerful pumpkin design!
Start by applying a base coat, which protects your nails. Once it’s dry, paint your nails orange, leaving one or two for accent colors if you like.
Next, take a fine brush or dotting tool to create a small green stem at the top of your pumpkin. Then, use white or black polish to draw a couple of eyes and a smiling mouth, turning your pumpkin into a cute character.
For added detail, you can add little vines wrapping around your nails using green polish.
Let everything dry, and finish with a top coat to guarantee your design lasts.
Enjoy your festive fall nails!
Maintaining Your Nail Art
To keep your nail art looking fresh and vibrant, regular maintenance is key. Start by applying a clear top coat every few days. This helps seal your design and adds extra shine.
If you notice any chips or scratches, don’t worry! You can quickly touch them up with a matching polish. Always remember to avoid using your nails as tools; this way, you prevent unnecessary damage.
When washing dishes or cleaning, wear gloves to protect your nails from harsh chemicals. Finally, moisturizing your cuticles with oil won’t only keep your nails healthy, but it’ll also improve the overall look of your nail art.
With just a little effort, you can guarantee your stunning designs last throughout the season!
Sharing Your Finished Designs

After putting in the effort to maintain your nail art, it’s time to show off your beautiful creations! Sharing your designs is a great way to celebrate your hard work and inspire others. Snap some high-quality photos in natural light to capture the true colors and details of your nails.
Don’t forget to experiment with different angles; sometimes, a close-up can really highlight your artwork!
Once you’ve got the perfect shots, consider posting them on social media platforms like Instagram or TikTok. Use popular hashtags related to nail art to let others uncover your talent.
You can also join nail art groups to share your creations with fellow enthusiasts. Remember, feedback is a great way to grow and keep improving your nail design skills!
Conclusion
Now that you’ve learned how to create stunning fall nail designs, it’s time to show off your creativity! Remember to keep practicing your techniques, and don’t be afraid to experiment with different colors and patterns. With the right tools and some patience, you can achieve beautiful results that celebrate the season. So grab your supplies, follow the tutorials, and enjoy the fun of crafting your unique autumn nails. Happy decorating!