How to Transform Your Nails With Spooky Designs for Halloween
You can transform your nails for Halloween by choosing dark colors like black and deep purple, adding pops of orange and blood-red for that spooky vibe. Use nail brushes and dotting tools to create designs like ghosts or spider webs. Consider layering finishes, like a glittery top coat for extra flair. Try fun accents on one or two nails, like stickers or tiny decals of bats. Always start with a good base coat and finish with a top coat for durability. With a little creativity and the right tools, your nails can be Halloween-ready in no time! There’s even more to uncover!
Choosing the Right Color Palette

In the matter of choosing the right color palette for your Halloween nails, a few essential shades can make all the difference. Start with traditional colors like deep orange, black, and blood-red; these instantly evoke the Halloween spirit.
You might also consider adding some spooky greens or purples for a fun twist. Mixing and matching these colors can create striking contrast and draw attention to your designs.
Don’t forget metallic shades, like gold or silver, which can add a festive sparkle to your spooky look. Also, consider a matte top coat for a different texture.
Experiment with different combinations until you find what suits your style best, making your Halloween nails both unique and eye-catching.
Happy decorating!
Essential Nail Art Tools

Creating stunning Halloween nails requires the right tools at your fingertips. First, grab a good set of nail brushes; they help you create detailed designs.
You’ll also need dotting tools for that perfect polka dot or spooky eye effect. A striping tape or nail stickers can add crisp lines and fun shapes without much effort.
Don’t forget a good base coat to protect your nails and a top coat for lasting shine. Nail polish remover is essential, too, for fixing any mistakes.
Simple Spooky Nail Techniques

With the right tools in hand, you’re set to investigate some simple spooky nail techniques that will improve your Halloween look.
Start by choosing dark colors like black or deep purple for a classic spooky vibe. You can use a nail brush or a toothpick to create small dots or lines, mimicking spider webs or tiny ghosts.
If you’re feeling adventurous, tape off sections of your nails to make sharp, edgy designs that look like fractured tombstones. Another fun trick is applying a glittery topcoat over your base color; it gives off a magical, eerie shine.
Ghostly Nail Designs to Try
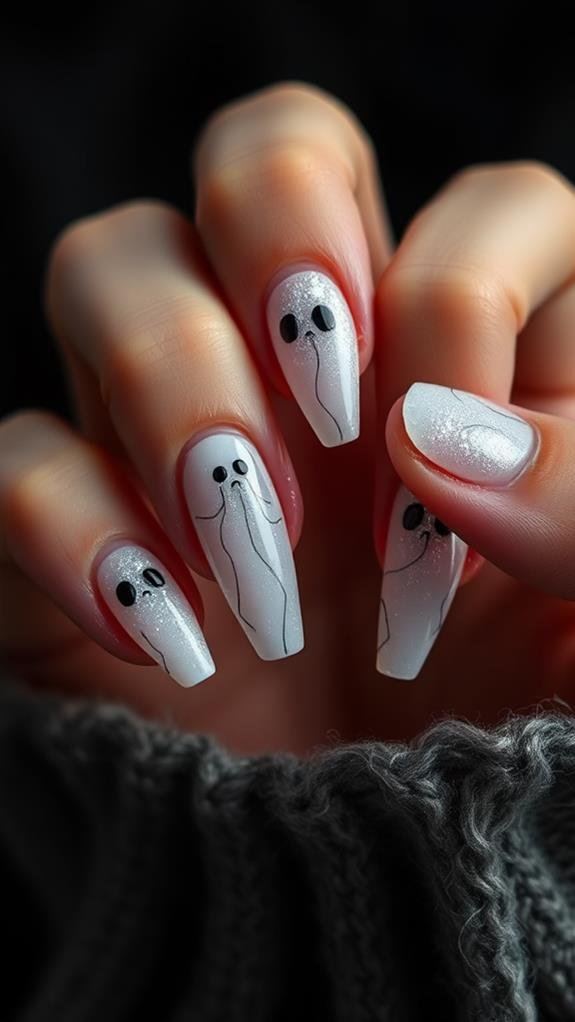
Prepare to spook your friends with ghostly nail designs that are perfect for Halloween!
One easy design is to paint your nails matte white, then add little black eyes and a tiny mouth to create cute ghost faces.
You could also try a gradient ombre using soft gray and white, mimicking a foggy night.
Another fun option is to use glow-in-the-dark polish for a truly eerie effect—your nails will glow like wandering spirits!
For a twist, you can place tiny stickers shaped like ghosts or use nail stencils to create intricate designs.
In conclusion, adding a touch of glitter over your ghost designs can give them that magical shimmer.
Get ready to show off your spooky style!
Creepy Characters for Inspiration

If you’re looking for nail design inspiration that captures the spirit of Halloween, consider drawing from some classic creepy characters. Think about painting your nails to represent vampires, ghosts, or witches.
For a vampire look, you could use deep reds and add tiny fangs or blood drips. Ghost nails can be fun, too; try a pale grey base with cute little ghost faces.
Witches offer another creative direction—paint a dark shade and add a tiny witch hat or a broomstick. Don’t forget to incorporate classic Halloween colors like orange and black.
Seasonal Accent Nails
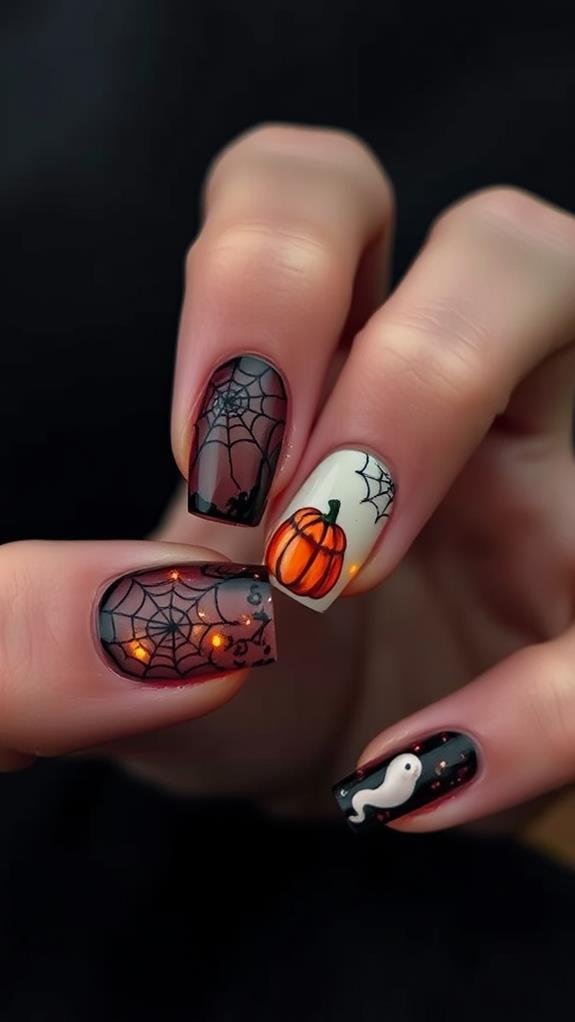
For a fun twist this Halloween, try incorporating seasonal accent nails into your nail design.
Accent nails highlight your creativity by drawing attention to one or two standout fingers. Choose a bold color like deep orange or black for your base, then pick one or two nails to showcase spooky designs, like tiny pumpkins, ghosts, or spider webs.
You could even use glitter or metallic accents to add a festive flair. Keep the other nails simple to let the accent nails shine.
This approach keeps your look cohesive while adding a seasonal touch. Whether you’re going to a Halloween party or just enjoying the season, seasonal accent nails can elevate your style and showcase your Halloween spirit perfectly!
Fun Nail Accessories

Adding fun nail accessories can take your Halloween nail art to the next level. Consider using tiny stickers or decals featuring ghosts, pumpkins, or bats to add a spooky touch to your nails.
You can also try nail gems that sparkle against dark polish, giving your designs extra flair. Glow-in-the-dark nail polish is another fantastic option—imagine your nails lighting up during a Halloween party!
Plus, applying nail tape can create sharp lines and geometric designs, making your look even more striking. Don’t forget about temporary nail tattoos for a quick and easy transformation.
With these accessories, you’ll elevate your Halloween vibe and make your nail art memorable. Get creative and let your imagination run wild with these fun additions!
Tips for Long-Lasting Designs

Achieving long-lasting Halloween nail designs requires a few essential techniques to guarantee your spooky look stays intact throughout the festivities.
First, always start with clean, dry nails; this helps the polish adhere better. Next, use a good-quality base coat to protect your nails and help your colors stick.
When applying polish, use thin, even layers—this not only helps with drying but also reduces chipping. After your designs are complete, seal everything with a top coat for shine and added protection.
Remember to avoid hot water and harsh chemicals for longer wear. Finally, consider using quick-dry drops to help prevent smudging.
With these tips, you can enjoy your nail art all Halloween season long!
Removing Halloween Nail Art

The thrill of Halloween nail art often transforms into a challenge when it comes time to remove it. You’ll want to gather some supplies: cotton balls, nail polish remover, and aluminum foil.
Start by soaking the cotton balls in remover. Then, place them on your nails and wrap each finger with foil. This helps to break down the nail polish faster. Leave it on for about 10-15 minutes while you relax.
When you’re ready, gently press down and slide the cotton off. If any design stubbornly remains, you can repeat the process.
Conclusion
Now that you’ve got the tools and ideas for spooky nail designs, it’s time to get creative! Whether you choose ghostly patterns or creepy characters, your nails can truly stand out this Halloween. Don’t forget to use the right colors and techniques for a professional look at home. With a bit of practice and imagination, your nails can be a fun accessory to your Halloween costume. So, grab those nail art supplies and let your creativity shine!